
Shaping the Deck.
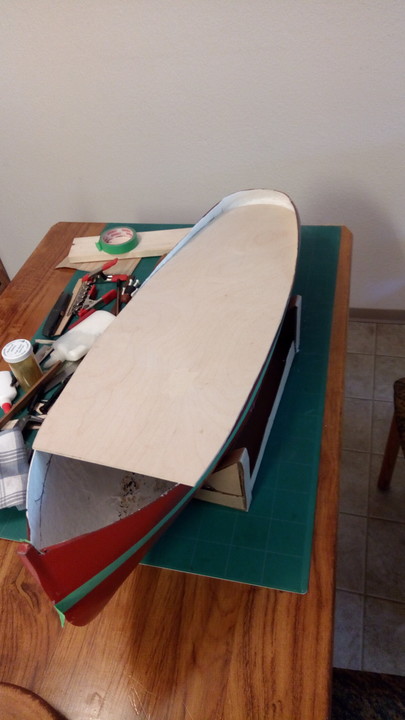
I want to put the deck into this hull without a lot of structure underneath. So the deck beams I put in are only in there with hot melt glue. I’m going to clamp the deck plywood down onto those beams to get it to curve with the sheer line, but just use epoxy at the deck edge to bond the plywood to the hull, and then take those beams out, leaving the hull interior as clean as possible.
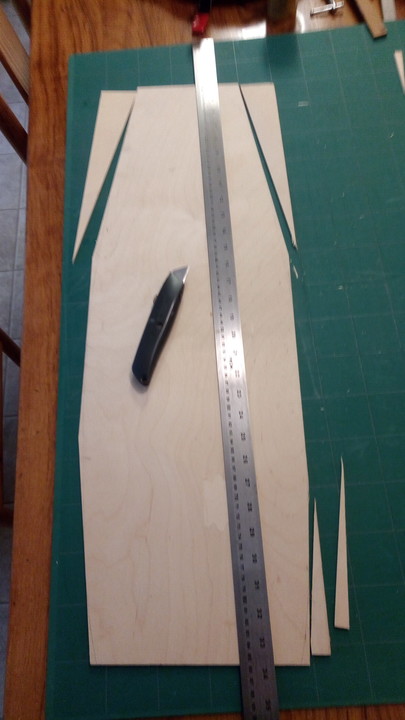
So the deck starts with a piece of 1/8 inch birch plywood with the corners knocked off. The birch ply cuts quite well with a stanley knife, just be patient, start with 3 or 4 light cuts along the ruler’s edge, to get the blade running straight, then a bit firmer with around another ten strokes and it will separate clean and accurate.
The next thing I did was to lay the hull upside down on top of the piece of ply and trace around the hull outline with a pencil. Not terribly accurate but a starting point. The plywood that I had wasn’t long enough to cover the entire deck, so I figured I would shape the stern, (at the top in these pictures), which is going under the tumblehome, by sliding this in from the bow and get it in there by cut a bit and try again. That got me most of the way, but with about 1/2 inch left before the stern tucked right home, I had to start doing something about the bow end.
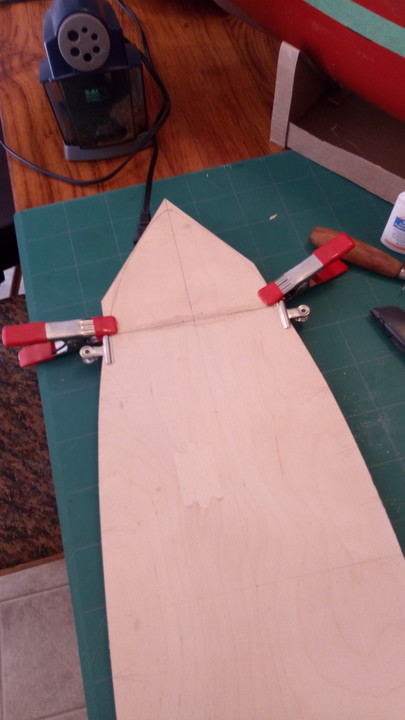
At that end of the ply, the sides of the hull have started to flare outward at the same time as the beam narrows. The cut and try method was looking a little dodgy, so I drew onto the plywood the positions of the forward edges of the deck beams, measured the internal widths at those points, and joined the dots with a bendy draughtsman’s curve. Measuring from the front beam position as it was drawn to the front of the plywood, I used that measurements to get another internal beam where the front of the plywood should eventually rest, and then drew that on and completed the curves.
It surprised me a bit, I had thought I was getting very close to the forward width, but in fact I still had close to 3/8 inch to remove either side. But cutting just about 1/16 inch outside the curve let me get the whole deck piece inside the gunwale forward, improving the ply’s angle into the stern, and letting it move back almost all the way.
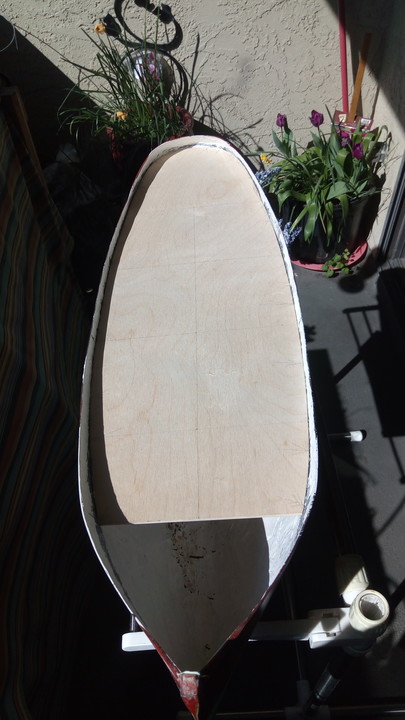
As you can see, the stern went backwards nicely and with a little more trimming the whole of that piece of deck is just about down onto the temporary deck beams. But now I am up against the fact that the sheer line steepens towards the bow and the plywood is, naturally, more or less flat. As I push it down, the front edge is going below its proper position and flaring the bow area outwards. So now I need the bow section of the deck to get spliced on. I’ll glue in a little shelf under the deck line at the bow, and that should let me shape the bow piece while pushing the deck into the curve and fit it nicely as it goes. I have cleaned the white paint off the fibreglass at the line where the deck will glue in, but there are quite a few irregularities on the inside of the fibreglass and it will take a bit more trimming of the deck sides to work round them. I’d like to feel that deck ply springing down into place without pushing out the hull sides.
The joint between the bow and stern sections of the deck is simply a 30 mm, (1 1/4 inch) piece of ply glued in across under the joint. I think the hatch opening and the deckhouse is going to be 50 mm aft of this joint. Anyway, the glue is now drying overnight.