
Starting the Deckhouse.
Bit of a hiatus while I got out the latest Binnacle, and did a couple of additions to the Binnacle Archive. The dining room table has been fully occupied for a couple of weeks by the latest mind-boggling quilt project.
Anyway there is now a little progress to report so here goes.
Once the deck coaming was completed and a coat of epoxy added to the deck and coaming, I started on the deckhouse sides.

I cut two backing strips 80 mm deep from Bristol board, using the deckhouse sides template with the development to the centre front. This is the port side, with the centre front to the left. You can just see the slight concave shape as the deckhouse will curve in.
Then it was a matter of gluing down 80 mm sections of coffee sticks, with shorter ones when I came to the doors and windows. The exact positions of the windows and doors were decided by avoiding cutting coffee sticks lengthwise. I decided that the front section of the deckhouse will be a crewroom and galley, the centre section the engine room, and the rear the main towing winch housing. The towing winch house will, of course, be open to the stern.
The Starboard side of the deckhouse is the same, but a little different in the placement of doors and windows.
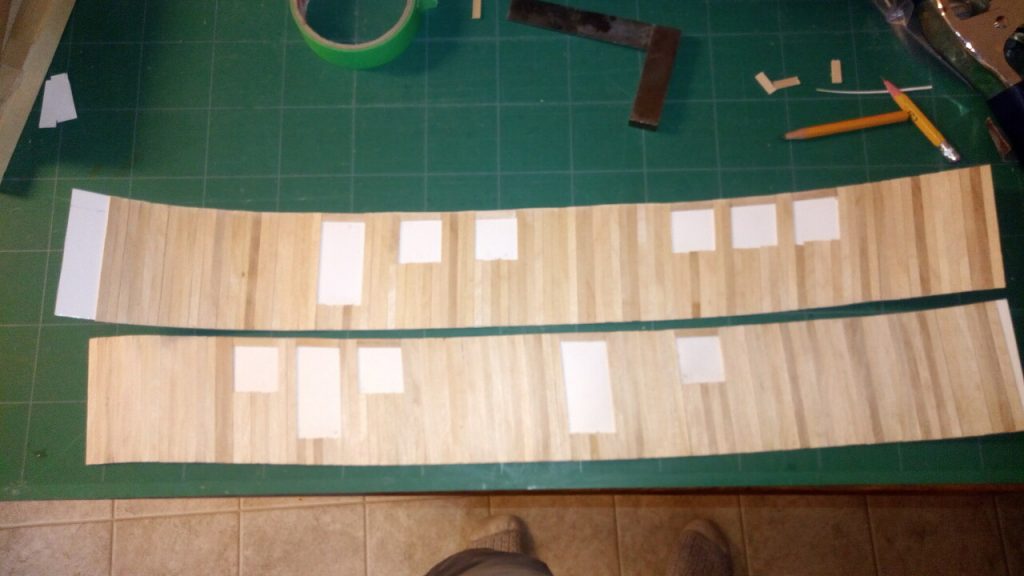
The door and window frames and the skirting boards will be a second layer of coffee sticks. But these will go on only when the sides are bent in to the finished shape because they will stiffen the structure.
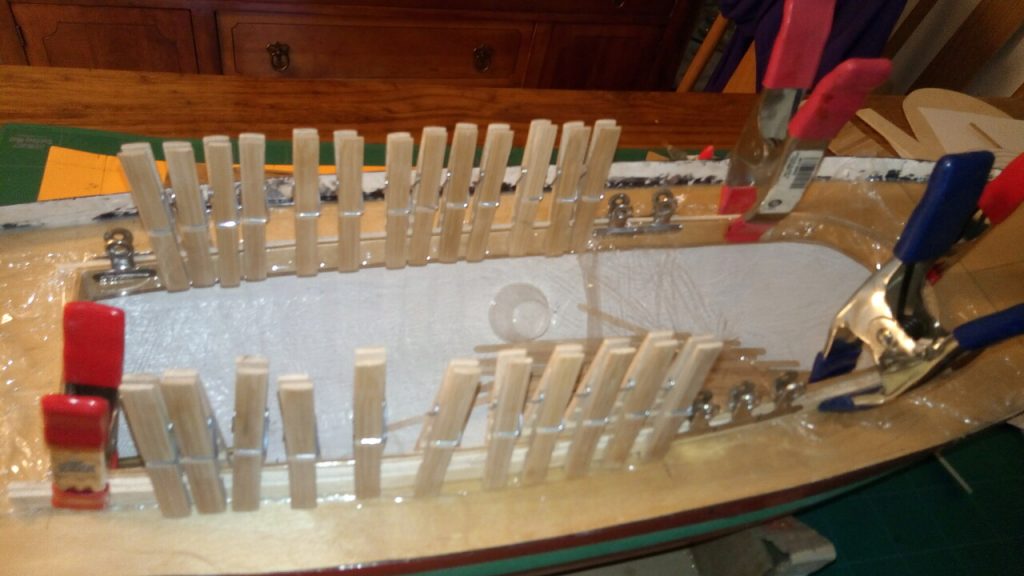
The next important piece is the frame for the bottom of the deckhouse. I allowed for the deckhouse base to be about 10 mm thick where it fits over the coaming. So I laminated the base from 10 mm wide 1/8 inch plywood strips cut, again, to the deck template. Here’s the lamination clamped up over the coaming. Note the clingwrap keeping it from sticking. I was a cook for ten years and clingwrap is almost as important as duct tape.
At the bow section, where the curve is greatest, the plywood strips were cut across the grain of the outer veneers of the plywood, then boiled in a pan for a few minutes and clamped on to dry out overnight before final assembly.
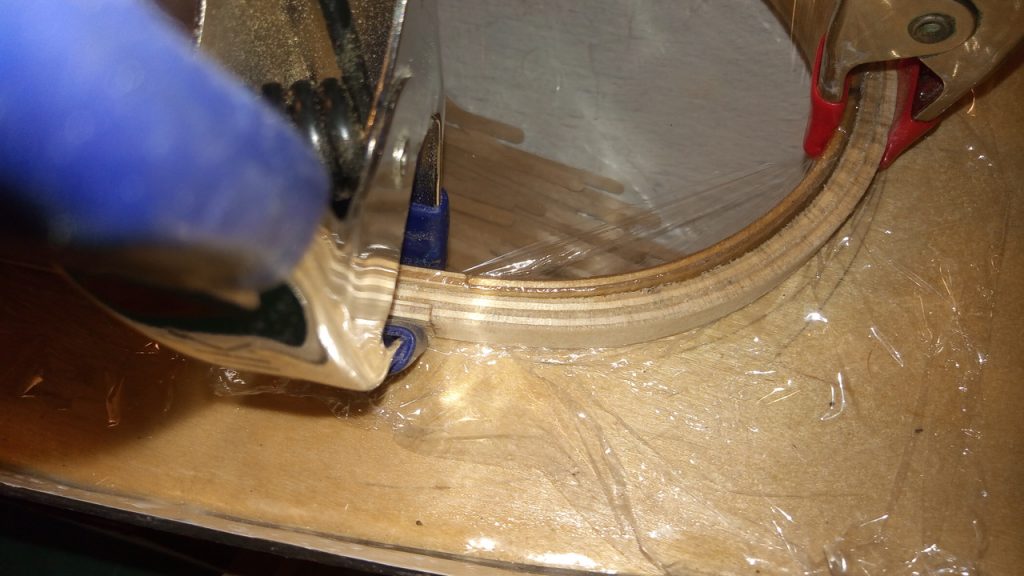
There is a 30 mm overlap between the inner and outer plywood strips to form a scarf joint.
This worked quite well, even with the dollar store PVA school glue I am using. To stabilize the shape before I took it off the coaming, I hot melt glued on a pair of cross pieces at the stern and the centre.
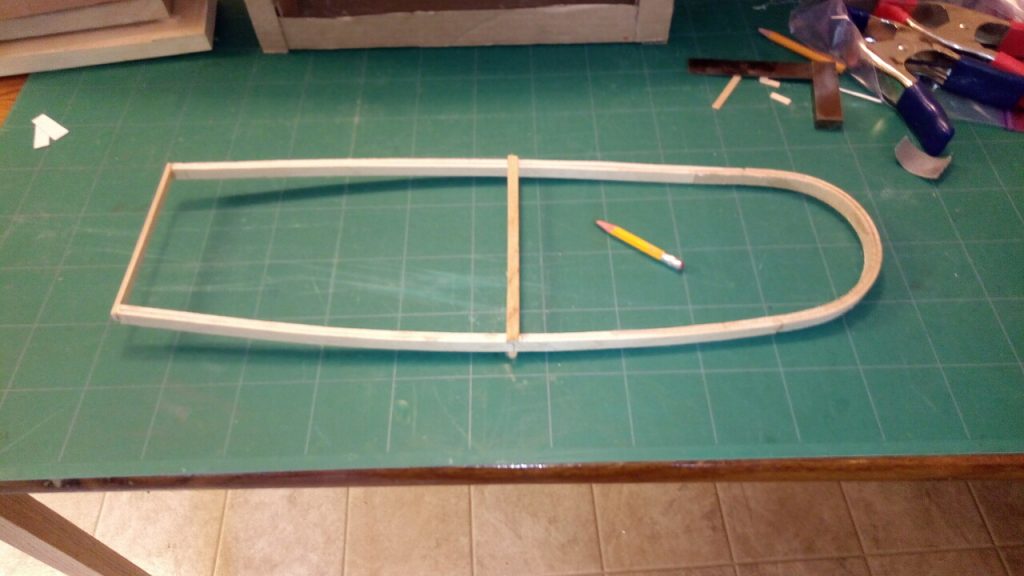
The next planned step is to glue the deckhouse sides onto this mould/stiffener, and add the skirting board, (more coffee sticks) to the outside. Once that’s glued up and dried, the base of the deckhouse will be the full 10 mm thick all round and plenty stiff enough to stand the handling as the superstructure is lifted onto and off the coaming. There is an issue looming up when I try to attach the upper deck to the top of the deckhouse, but that’s for another day!