
Measurements and Trials
The next major step in the building process on the tug is to get the deck in place. But this means deciding the size of the superstructure. I want the whole superstructure to lift off so that there’s a large hatch opening up underneath, through which I can get at the working gear. Here’s a picture of my Thames barge under construction:-
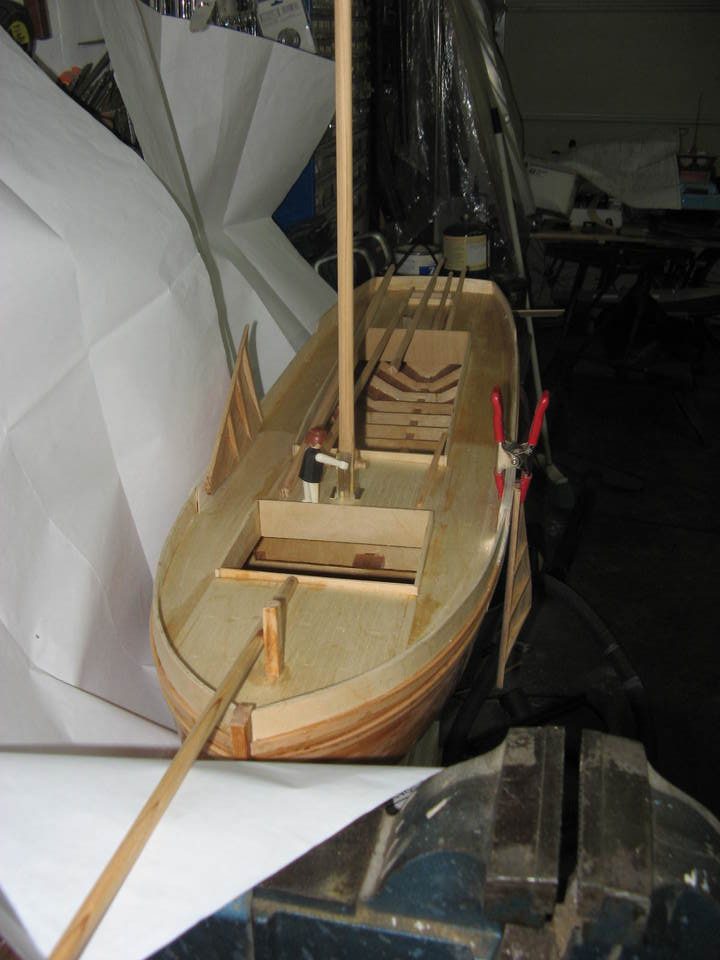
You can see that I built two large hatches onto this, and that the hatch covers fit over a coaming about 10 mm (3/8 inch) high. (There’s actually a third hatch right at the stern to receive the wheelhouse, but you can’t see it well in this picture.)
The use of a coaming like this means that water that splashes on the deck, or rain, doesnt get into the hull interior unless the water gets deeper than that 10 mm. The hatch covers are a close fit over the coamings so they don’t bounce off in waves, but are really easy to remove for messing around inside.
For the tug I would like to get just one big hatch in the centre of the boat, through which all the gear would be accessible.
There’s an invariable rule to anything I make which goes, “If I mark and measure multiple times so as to cut everything to closer than 1/2 a millimeter, then when I finally put it together it’ll be just about 3/4 of an inch out!” To start laying out the deck and hatches on the tug, I needed some reference marks to establish a true centre line and check the hull symmetry.
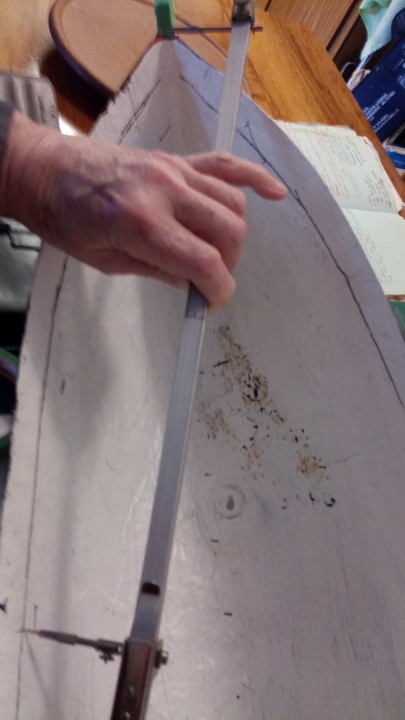
So I got out my trusty beam compass, (bought as an engineering student in London in the 1960s), spent a while mooning over my old slide rule that I keep with it, and started by marking an exactly equal distance from the inside peak of the bow, back towards the centre of the boat, on either side at the deck level.
The beam compass opens to a maximum of 16 inches, so it didn’t quite reach the centre-line, but marking both sides does give me a true straight line across the boat.
I then used the same compass to mark steps along each side of the hull at 150 mm intervals. The idea is to put temporary deck beams across the hull that I will remove when the deck is securely bonded in place. Since the deck follows the sheer line, I’ll need those deck beams to hold it down while the epoxy bonds the plywood to the fibreglass hull.
Of course, if you start an exercise like this, one thing leads to another but not in the direction you started. This one led to the question, “Where exactly is the rudder post going to come through? And even, because the deck comes down very close to the hull at the stern, “Where is the steering gear on a full size tug?”
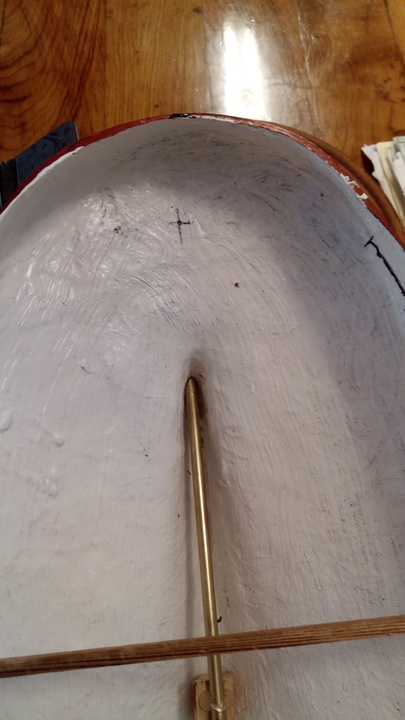
So I re-measured and marked the position of the rudder post on the outside bottom of the hull, and drilled through with a 1/16 inch drill to see where it was on the inside. That actually turned out to be within a millimeter of symmetrical with the side marks I had extended from the bow. But for sure there isn’t going to be room for anything at all between the deck and the hull at that position, so the rudder post must come through above the deck.
Onto the Internet and to the website, www.themodelshipwright.com to look at the plans for the Hercules, the wonderful old steam tug in San Francisco. There I found this lovely picture of the stern deck.
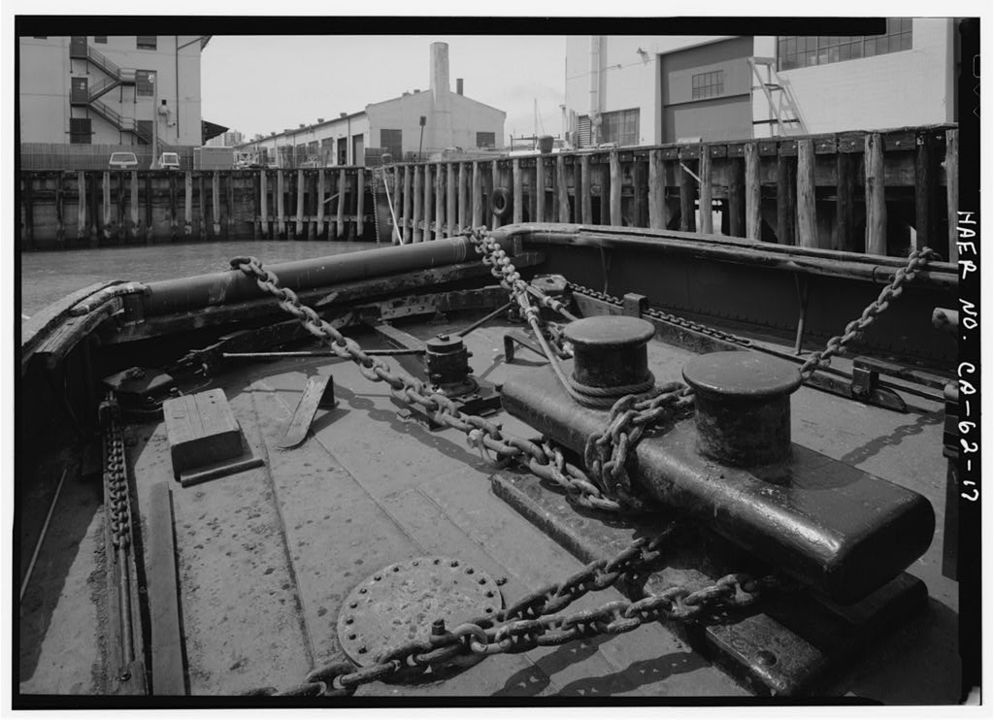
Just above the centre, you can see the top of the rudder post. Behind it is the quadrant, which guides the chains that turn the rudder. The chains, the straight ones at the left and right hand sides, not the ones going over the stern, lead to steel rods which go right forward to the cabin sides directly under the wheel. The plans show the steering engine right underneath the wheelhouse, so there must be more chains or wire at the bow end of those rods, going into the steering engine to operate the rudder push-pull. I wonder if that quadrant moves with the rudder, or is it just a slideway for the chain. Question for another day, but this is going to be fun to model!
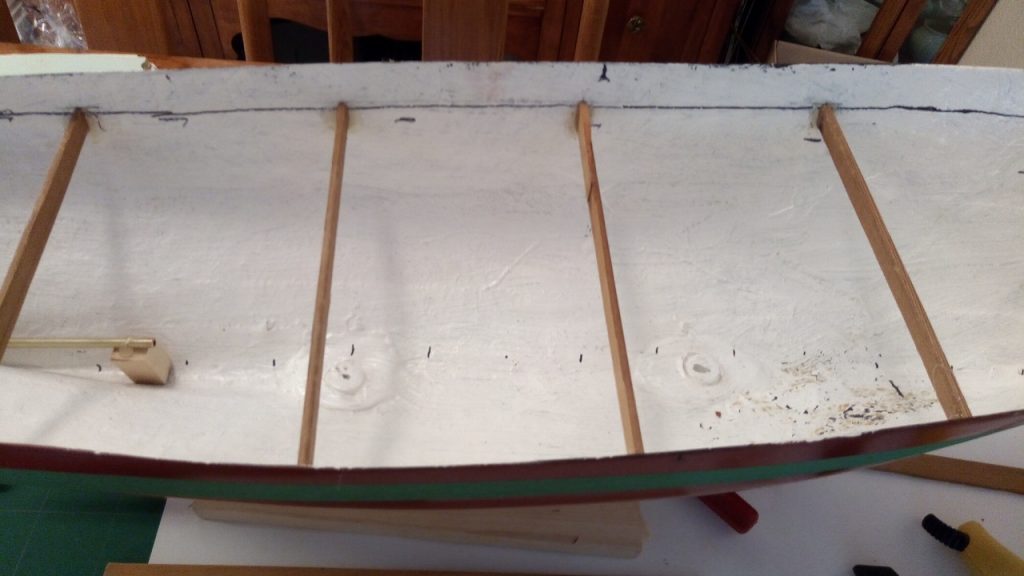
Back to business. I installed four temporary deck beams with hot melt glue. I should be able to cut them away working from the deck hatch once the deck is secure. I think I will need a permanent ledge of some kind under the deck at the bow, at the stern it looks as though the deck will just glue right down to the inside of the hull where it turns to the tumblehome. Next logical thing would be to find the shape for the deck and cut and fit it. The hatch under the superstructure can extend as far back as the beam on the left, so I’ll have good access to the link between motor and prop shaft. At the front the centre of the radius for the wheelhouse can be somewhere close to the beam on the right, there’ll be lots of room to get at the batteries and any other gear that I want to install.
But according to another of my invariable rules, “Before you do anything, you’ll find something else that needs doing first!”. So I was feeling insecure about the idea of building the superstructure with coffee stirrers to model the vertical planking. So I did a trial piece of that to get a feel for it. I just glued the sticks side by side with dollar store school glue to a piece of shopping bag Kraft paper, and used an electric iron to press it down and dry it. Yes, it’ll bend quite nicely, the gaps between the planks are a little wide when it is bent, but that would be improved by sanding the edges of the coffee sticks true before gluing them.
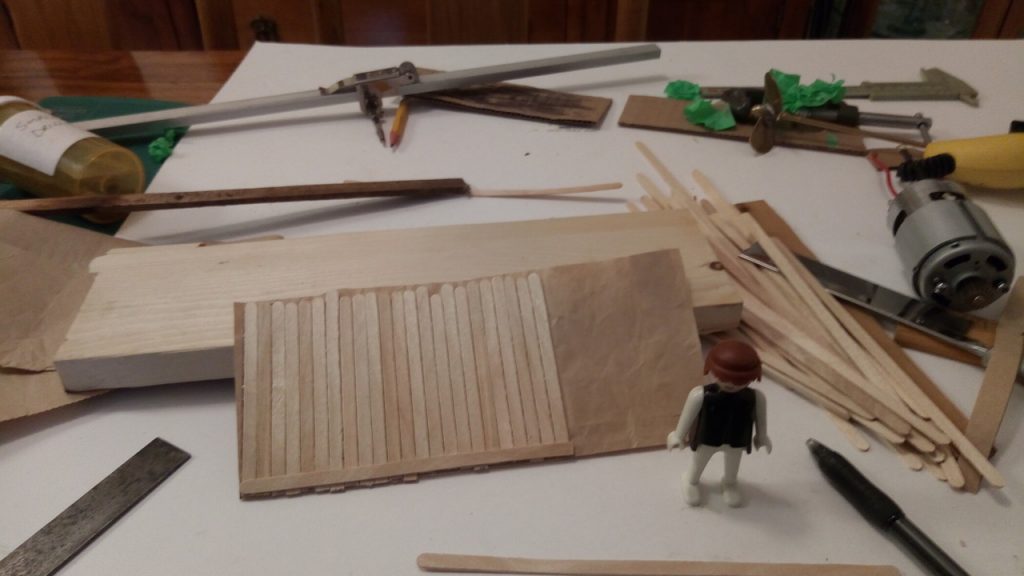
After establishing that the bending around a vertical axis will work, I glued a pair of coffee sticks across the base inside and out like skirting boards. These stiffen the assembly very effectively, and the coffee sticks on their own will bend lengthwise to follow a radius of 50 mm, ( 2 inches) so it will be possible to make a very authentic looking, light and rigid , structure this way. I’ll be able to make the superstructure sides follow the beam line all the way, eliminating almost all straight lines and making fitting doors and lights much more difficult for myself.
Now I could get back to the deck, but actually I am feeling the need for a stand to hold the boat hull while the rest of the work gets done, so probably I’ll do that instead. (Rule two!)