
Access to the Site.
To get started as a writer of content on the Club website, what you will first need is a username and password from me to enter on the webpage log in site, which is “https://vmss.ca/wp-login.php”. I will send these to any member who wants access as an author.
When you get logged in to the VMSS website as an author, you will be confronted with what is called the Dashboard. This gives you a bunch of messages to do with administration of the site, most of which will only serve to confuse you at first. So ignore the stuff on the white part of the page, and look at the menu on the left hand side.
At the top is the WordPress logo, a ring around a “W”, then a typical “Home” icon and the title Victoria Model Shipbuilding Society. Click on that and it will pop up a menu saying “Visit Site” which will take you to the main website home page, with the same little logo still at the top. Click it again and this time the popup will say Dashboard, and clicking on that will take you back where you started.
Next along the top line is a little square with a number beside it, that tells you how many comments have been made about articles you have written and published. Clicking on the square will take you to your “Comments” page . Beyond that is a plus sign with the word New. Clicking there will give you a new page to write on.
Going down the left side, below the “Home” icon is another icon with the word Dashboard. This will always get you back to the beginning again.
Then there’s a “Posts” section. “All Posts” will take you to a page with the titles of all the articles on the site. This is important to know because if you get fed up with writing, save the draft so far, and leave the site, then this page can let you find your draft again. There’s a little sorting section above the titles that lets you call it to show all posts, just your own under “mine”, or just those that have been published and are live on the website, or just the drafts that are waiting further work before you publish them.
Under “All Posts” is “Add New”, this is just the same as the “Plus” sign at the top, getting you to the new page on which you will create. The use of the term “Posts” is a legacy from the origin of the software specifically for blogging. WordPress uses the term “Page” as referring to relatively static pages that are the guides to the site content, rather than the content itself. On this site the “Pages” are what appears when you click on one of the site’s menu titles at the top.
The rest of the right hand side menu can wait till you feel like spreading your wings some more, the rest of this is going to concentrate on getting you to your first complete creation on the new page.
At the top of the new page is, in large letters, “Add Title”. Click on that, type your title, press enter and then click on the blue “Save Draft” sign up towards the top right. You have started.
Underneath your new title you will see “Start writing or type / to choose a block”. As you type anything at all and move the mouse, you will see a border around what you have just typed. Along with the border there are a box on the left with up and down arrows, and a menu box across the top. Now I have to try to explain what the hell is a block.
A block is a piece of content of some kind that makes that content conform to the general style of the site, the “Theme”, and lets you put the content into the page so that it looks good. So it’s kind of a parcel wrapping for any particular piece of content. There are many types of block available for you to choose from, but to start with, I am going to describe just five of them which are all that you will need to create a simple, illustrated, article.
The first block on any page is the “Title” block. This doesn’t give you a lot of choices, it just takes whatever you type , puts it in large, bold letters, and uses the same text to form a “permalink”, which is the code the world wide web uses to find it.
When you started to type underneath the title, you were immediately in a “paragraph” block, which is the most basic unit for a piece of text. The top menu for a paragraph block lets you align the text to the right, left, or centre, it lets you make the text bold, italic, or both. The little chain symbol lets you make a piece of selected text a permalink, if you click on that piece it will send your browser to a different address on the web. The little down arrow gives more options that I don’t yet fully understand, except the bottom one that gives you the option to put a piece of text into a different colour. And then the final box with three dots vertical, lets you do some stuff to the block as a whole. The only bit of this I have so far used is the last option, to delete the complete block. The box on the left of the block has three options, the up arrow will move the block up one place to before the block above it, the down arrow will move it down a block similarly, or clicking on the centre six dots and holding the click down will give you a grab handle to move the block up or down as far as you wish. Every time you press the enter key in a paragraph block the software terminates that block and starts a new one. That can be annoying and confusing if you have developed the habit of adding whitespace in a word processor by repeatedly pressing the enter key, because the wordpress editor doesn’t do that. It just starts a new paragraph block at the standard spacing and ignores your multiple presses.
So, if you want whitespace, perhaps in getting your text to flow nicely around images, you will need to change the next block to a different type, the spacer block. I’ll put one in below. Wherever you see on the editing page a little “plus” sign in a circle, (there’s always one up at the top left), you can click on it and it takes you to a menu box to choose a type of new block to insert. The spacer block is well down the menu, under “layout options”. Here’s one below
The spacer block simply gives you a moveable line to define the height of the whitespace you want. Click and hold the blue dot to move it up or down. Now let’s try an image block. The image block lets you insert an image into the text.
The image block first invites you to get an image, upload it from your own computer, get it from the website’s media library, or insert it from another place on the web with an URL. When the image is in place, you can type in a caption underneath, change the size with the blue dots, align it centre, left, or right, or take it to the full width of the page, with or without margins. You can also add a link to the picture itself, so a click on it takes your browser somewhere else entirely, and there’s a little dialog box to replace it with something else.
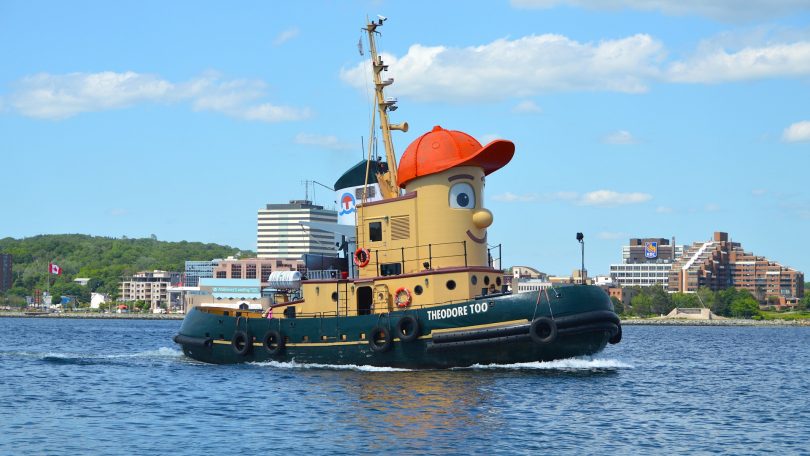
If the image block is aligned either to the left or the right, and the picture is less than full width, then clicking and holding with the mouse on the 6 dots at the box on the left hand side, will let you move it up to a position even with the start of any paragraph block, so the paragraph block shortens to fill down the side. This has been done with this image.
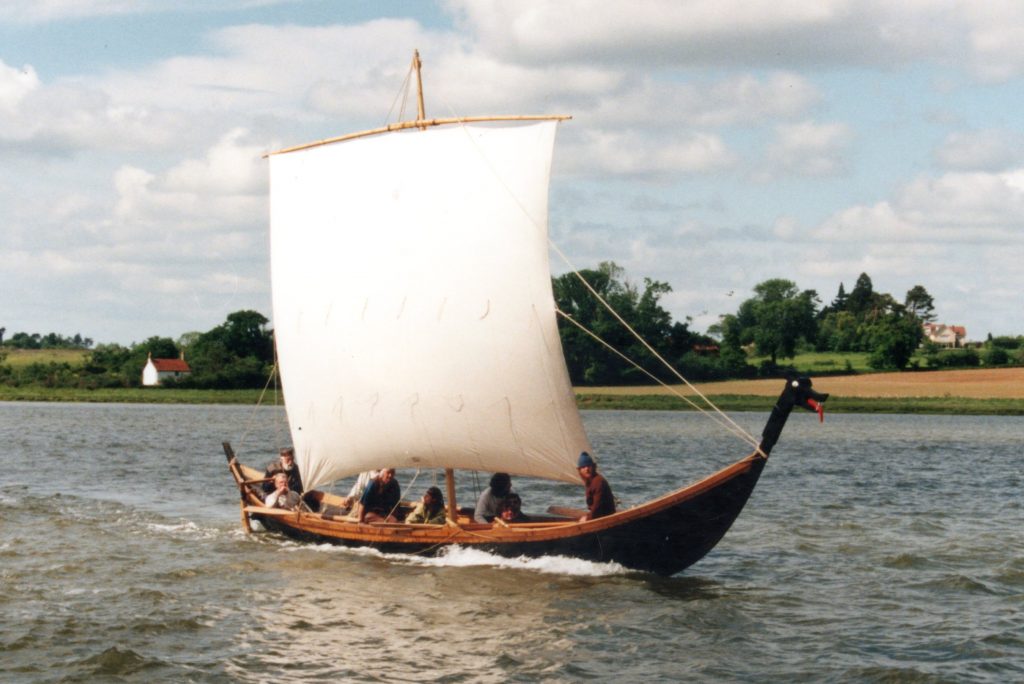
This is where a spacer block might be needed to get this paragraph to sit underneath the image instead of having the two line lengths in a single paragraph like this.!
The one other block you need to know about right now is the Heading block. This is the one to use for any sub-titles you need. It’s right there in the “most used” section, and when you put it on the page it gives you a choice of three text sizes between the “Title” size and the standard text size. These are H2, H3, and H4, so that you can use these three levels if you wish to suggest the relative importance of any section of text that you choose. As with other text they can be bold, italic, or both, you can colour the text, or part of it, and you can align them right, centre, or left.
Sub-title H 2, the quick brown fox
Sub title H 3, jumped over
Sub title H4, the lazy dog.
That’s as far as I have got so far, but it is more than enough for you to produce a nicely laid out and illustrated article whose look will match that of the rest of the website. Now there’s nothing stopping you from exploring the use of other blocks, just pick one out, stick it in your draft, and see what it does for you!
Finish it and Publish it!
Ok, you have been working on your draft, saving it as often as you needed, using the view Post on the top menu in the dasboard to check how it will look when published, and now you have an article that you are satisfied with and want to let the world see it. You are ready to click the blue “Publish” button at the top right, and that will just take you to a couple of final steps. On the right hand side a menu appears with three sections.
Visibility. Public simply puts it up on the web for anyone to read. Private leaves it accessible only to myself as “admin” or to others who volunteer to help edit the site. You could use this if you want someone else to edit it before it goes out. Password protected would be used if, for instance, we wanted to make a members only section of the site, but we are not doing that right now.
Publish. Gives you the control of the date of publication that shows on the site. You could use this to delay publication till a particular date if you so wished, or you can back date it if you have a reason to. The publication date is one of the criteria that the site can use to find any particular “post”.
Suggestion: add tags. You can add a few keywords that also can be used for anyone to find your article in the future. Either those that others have already used, listed in Tags in the left hand menu in the dashboard, or you can add new ones of your own.
Happy? Click the blue “Publish” button again and its done. You’re an author on the web, surely fame and fortune will follow.