
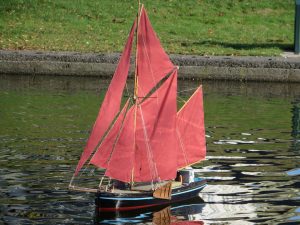
This is a description and pictures from my build of a model Thames Sailing Barge, also known as a Spritsail Barge. It will concentrate only on the building of the hull, but here, just to show what the finished model looks like.
This particular adventure started with a plan from the British “Model Boats” plans service. It’s from way back and it is for a 24 inch long model.
The first thing I did was to enlarge the lines plan to make the hull 48 inches long and use that to plot the bulkheads at a spacing of 2 inches.
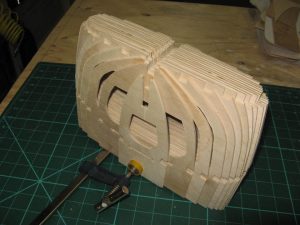
I cut the bulkhead sections with a jigsaw from 1/8 inch plywood and then had a stack that looked like this.

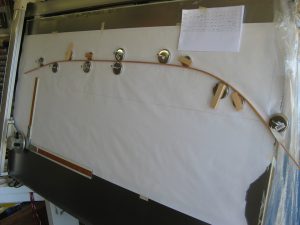
Next came the basic building board with blocks to mount the bulkheads in position and lots of hot melt glue.
When all the bulkheads were mounted it was time to add the keel to stabilize them in position and I had my first look at what the shape of the hull was going to be. It’s a big moment in the build, it starts to feel real for the first time.
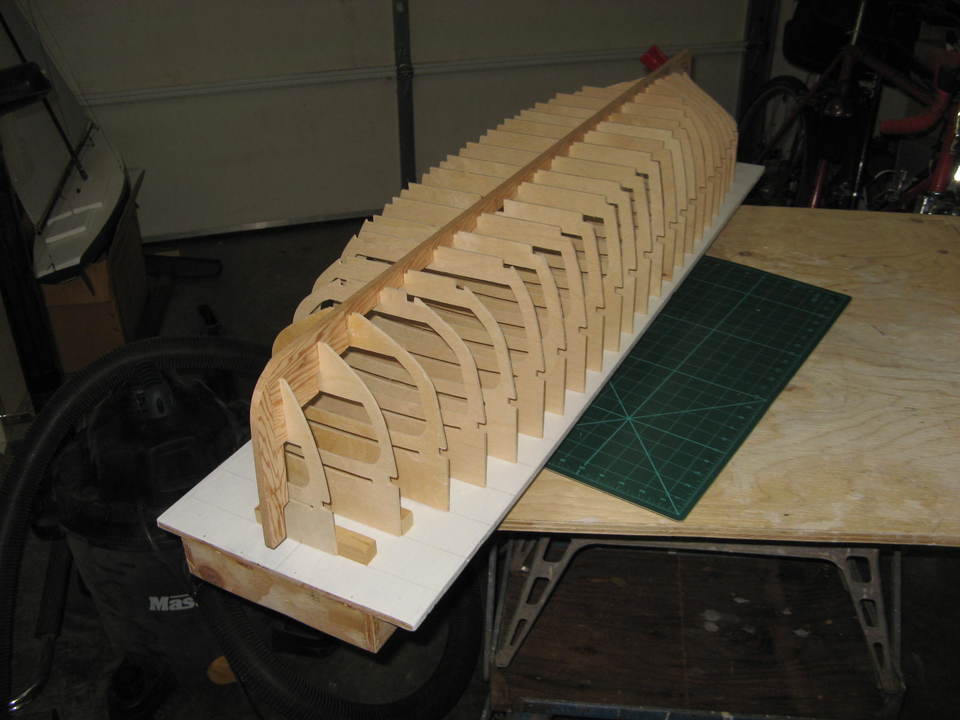
You can see in the picture above, the notches in the bulkheads to accept stringers at the chine, (the change from the flat bottom to the sloping sides), and at the deck (or sheer) line. The baseline for the deck shows as the narrow slots in each bulkhead. Because the deckline is curved both across the deck and along it, (the sheer), each bulkhead has at its base an extra piece that carries the bulkhead from the flat building board to it’s correct position vertically. So what you see below those deckline slots had to be cut away when the hull was planked and then the deck could be mounted.
Anyway, the stringers were laminated from 3 thicknesses of 3/8 inch by 1/8 inch fir planks and glued into the notches. There was a lot of measuring and checking to try to get all the bulkheads exactly straight across the hull because once the glue was dry the shape became really rigid. That’s why the three thicknesses of the stringers were glued in one at a time, the tension caused by their bending tended to push the bulkheads out of line. I didn’t win entirely, a couple of the bulkheads are a couple of millimetres out of line, but close enough to fudge it under the planking. The stringers were planed and sanded to match the shape of the bulkheads and then the hull was ready for planking.
I planked the hull with two layers of 3/8 inch by 3/32 inch planking. This was Douglas Fir, because I had a couple of planks of straight grain fir doing nothing. I cut them on a table saw, but had no thickness sander to finish them. Well, never again! What I thought were tiny flaws in the cutting turned into big problems when trying to fit the planks together and the hardness difference between the spring and the summer wood in the fir grain made it very difficult to cut and trim accurately. Every way I could think of to clamp the planks in position was not really enough. I was limited to two runs of plank a day, the glue had to dry before I could hope to fit a third in place.
The second layer of planking was a little easier, because I was able to sand some of the unevenness out of the first layer. But clamping was even more problematic, there being no way to pressure the plank edge. Eventually it got done, but I didn’t at the time take any photos of it in progress. So the two pictures below show the finished hull, sanded and coated with clear epoxy.
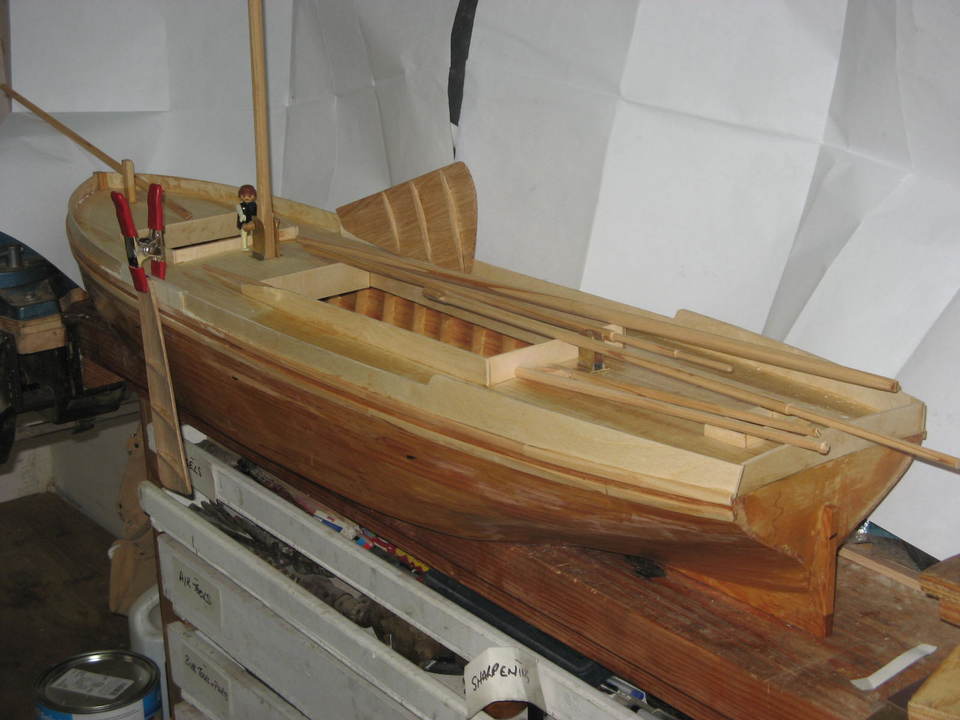
Hull complete 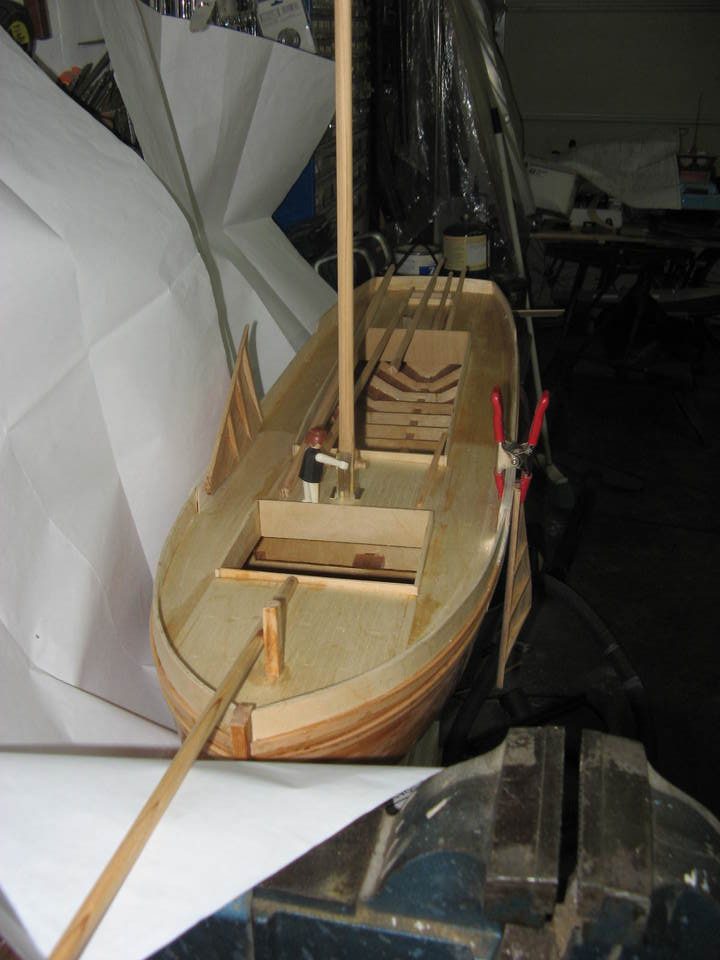
Stepping the mast
The pictures also show the gunwales, the hatch coamings, the rubbing strakes, the spars and bowsprit, and the leeboards. Leeboards are the things that look a bit like whale fins and are very characteristic of these flat-bottomed sailing craft. They were shallow draught and flat bottomed so they could sit on mud flats at low tide, when farm carts could come alongside and load them. Once back at sea the leeboard on the side opposite the wind would then be pivoted down, projecting below the bottom to provide sideways resistance so the barge would sail forward instead of skating sideways. The second picture shows the port (left) leeboard clamped in the down position. Incidentally, the crewman, a Playmobil figure just under 3 inches tall, is fairly accurately to scale, (a half inch to the foot, 1 in 24), giving a good impression of the size of the original ship.
More another day.
Edward.