
More Drawing
Looking at the wheelhouse profile I had done so far, I decided that I really needed to cut a template of the sheer line and re-draw the profile once or twice more with better checks on the clearances between decks and a more realistic deck thickness. I took a walk down to the harbour for another close look at the Swell.
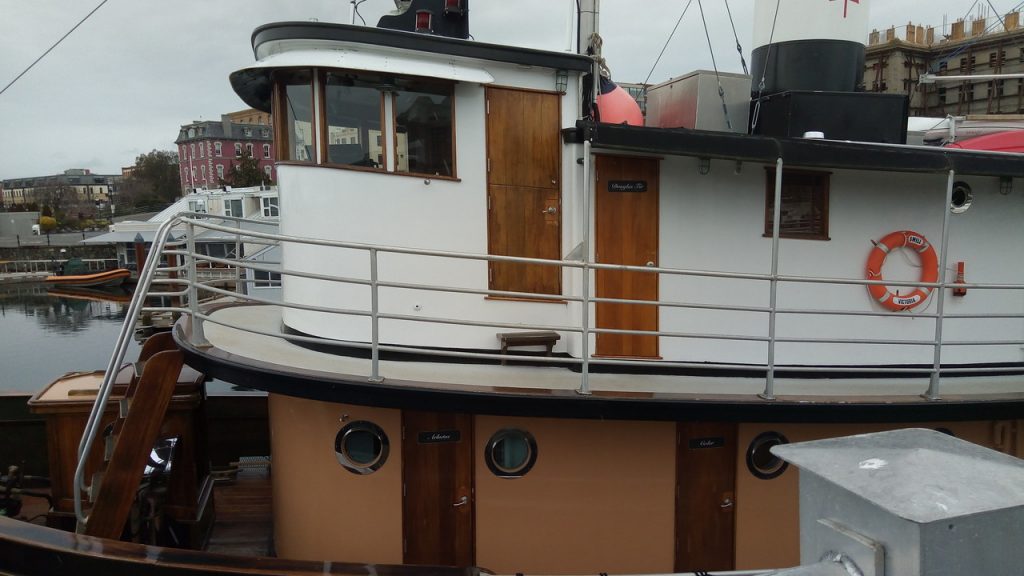
My best guess, looking at the wheelhouse roof and the side of the upper deck, is that I should allow about 4 inches for the thickness of both. Something like 3 inch joists with a 3/4 inch ply covering would be plausible in the real thing. The wheelhouse roof looks like it’s cambered as well, but with the slope of the sheer line I don’t see that as necessary for shedding water and I’ll leave my model roof flat across. The step below the door seems to indicate that the wheelhouse floor is at the upper deck level at the front, coming back at the same height as the step to the wheelhouse rear wall. There looks to be about 6 inches of clearance between the top of the door and the windows and the underside of the roof, which makes the wheelhouse quite tall. That would be very comfortable for visiting guests to stand with the Captain in the wheelhouse in Swell’s current function as a tourist boat, but the working tug would probably shave that down a bit.
Take a look at the wheelhouse on the Master.
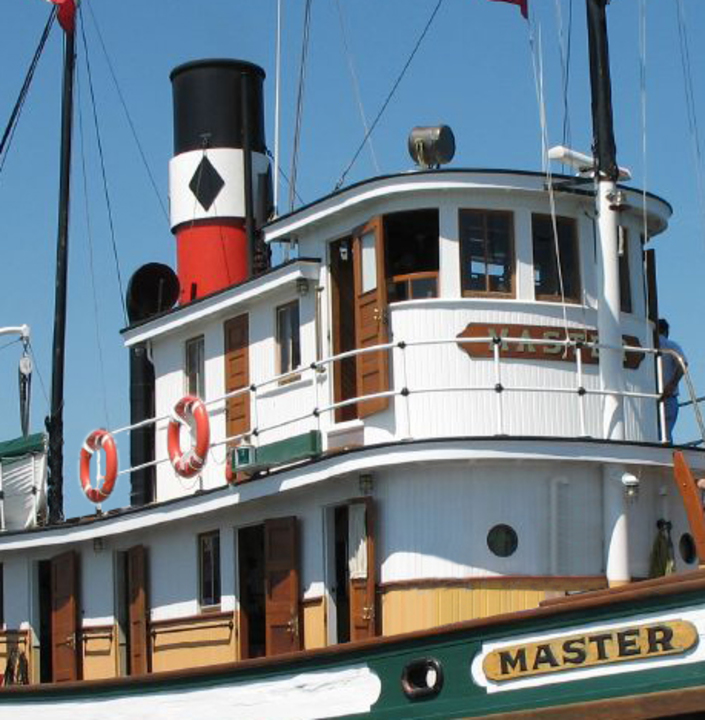
I really like this. Look carefully at the mast and you can see that it is flush with the front of the deckhouse but stands off from the front of the wheelhouse. So the wheelhouse is set back from the deckhouse by just a little less than the width of the upper deck, the mast going through the upper deck just at the back of the railing. Behind the wheelhouse is a section built as a cabin for the Captain and the Mate.
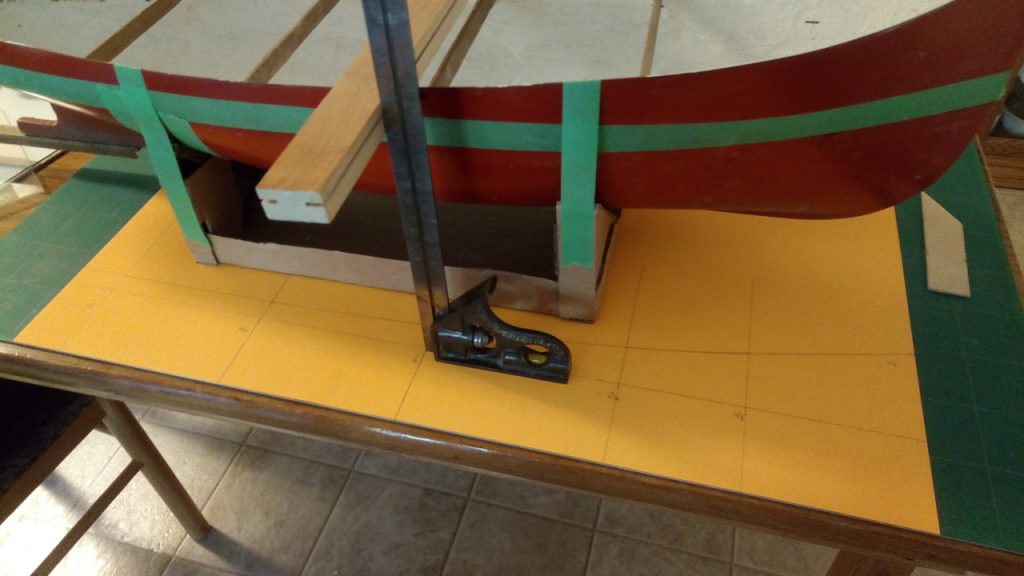
Back to the model. To get the measurements for a more accurate sheer line, I had to get the hull horizontal in the cradle. I started by hot-melt gluing an extension to the back of the keel to hold my level.
Then extras pieces of cardboard added to the stand, a bit of jostling the hull around, and I could tape the hull onto the stand to keep it true while I took measurements.
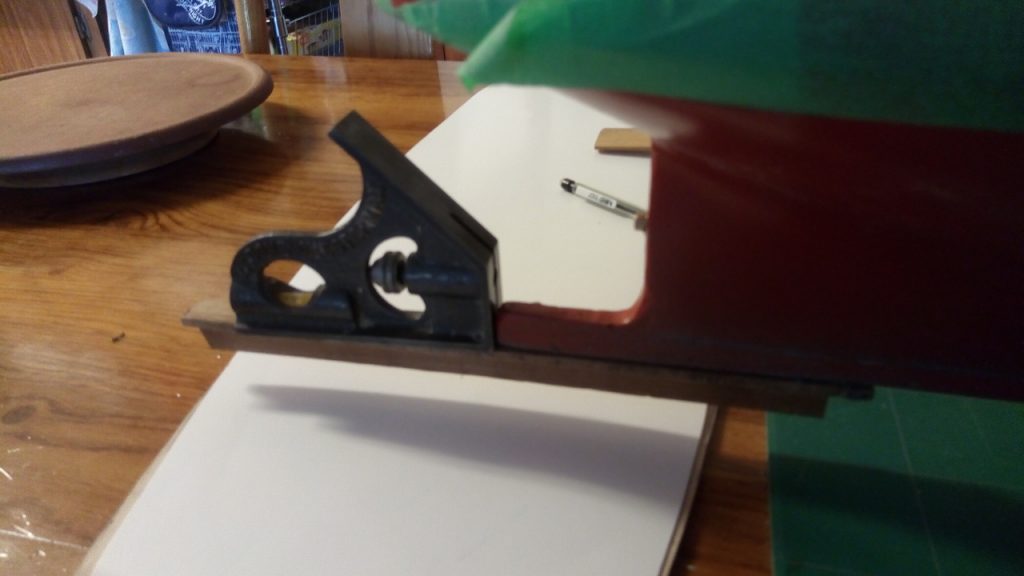
I laid a beam across the gunwales, and the square slid to the edge of the beam. I marked the fore and aft position of the beam at the bottom of the rule, and then the height of the sheer up from the edge of the orange bristol board. Behind the square is the completed sheer line. Cut that line and I had my template.

Above is the sheer line template with the deck template. The deck template has been redrawn with the upper deck front and the wheelhouse front set back. The mast will come through flush with the front of the deckhouse with a notch around half the diameter of the mast in the upper deck. But before using the template to re-draw the superstructure profile, I decided to take a look at the shape of the curve that the fronts of both the deckhouse and the wheelhouse will take if laid out flat. Below is the result.
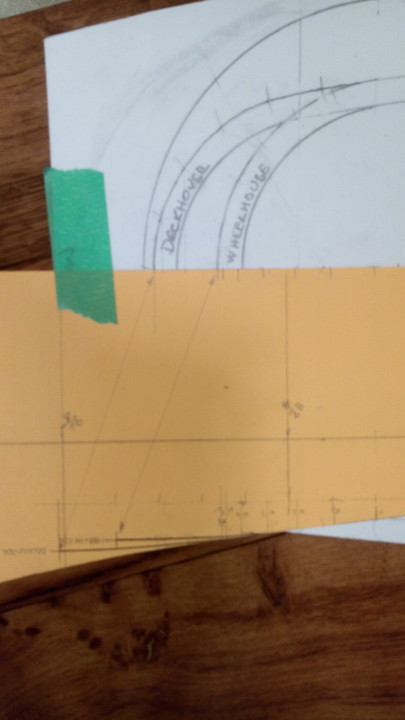
This involved dividing the quarter circle of each house into six equal sections and extending the line of each house by the combined length of those sections. Then I took the sheer line height at each of the sections as they curved , and re-drew it on their positions as straightened. The result isn’t terribly spectacular, it’s the two lines at the bottom of the picture. The wheelhouse curve is the upper, and the deckhouse curve the lower. But if I cut the house walls to those lines on the flat, and then curve them in to form the front, they’ll fit to the deck. (All normal warnings about the impossibility of accuracy apply!)
Next, I’ll redo the profiles and we’ll see what they look like.