
A Cradle to Work On
Yesterday I thought I was going to build a wooden cradle to support the hull while I worked on it. But this morning I looked around and saw a much cooler idea. Our son did our shopping yesterday, (coronavirus), and brought it home in an egg carton. And I have a hot melt glue gun and a Stanley knife.

So I cut one side of the carton away lengthwise, and plugged in the glue gun. I cut a 90 degree vee from each folding end, and cut the vee pieces in half to give me 4 triangular pieces to double the upright ends. In the picture above I have glued on the doubling pieces on the right, but not yet on the left. The slots in the doubling pieces on the left are simply where the original carton locked together. On the right I have put hot melt glue into the horizontal seam where the doubler comes down on the base, and held them square while the glue cools.
Beyond that point it was all improvisation with pieces of cardboard and the glue gun. A couple of long thin pieces wrap around the sides and ends at the bottom to reinforce the uprights, then some thinner pieces wrapped up and over the ends to provide a wider surface for the hull to rest on and more stability still on the uprights.
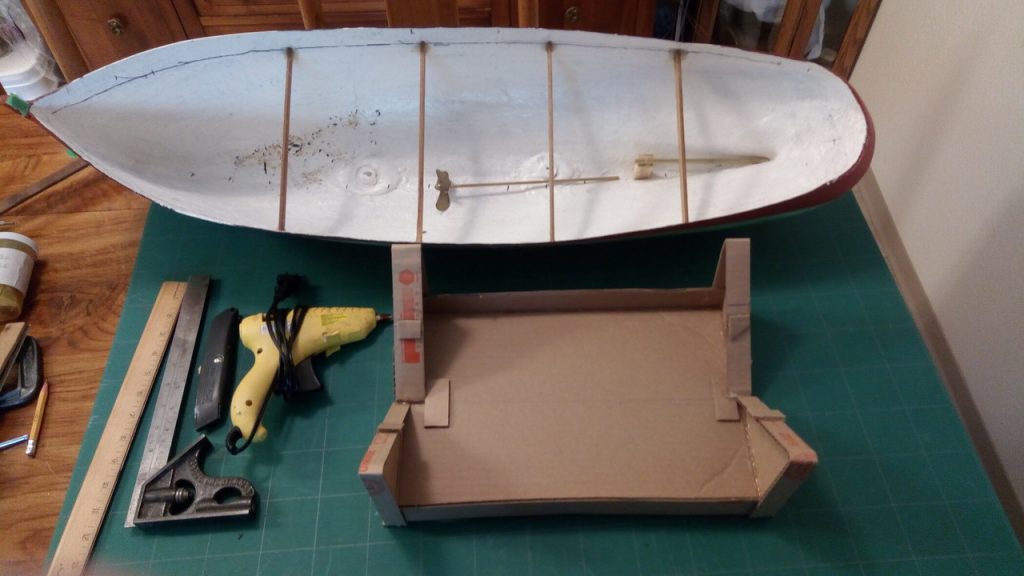
And there it is, ready to rumble. (Probably.) There are three cross pieces under the base together with the two short pieces at the bottom of the vees, those were to stiffen the base crosswise. And then four little tabs in the middle of the slopes which you’ll understand in a moment. It works!
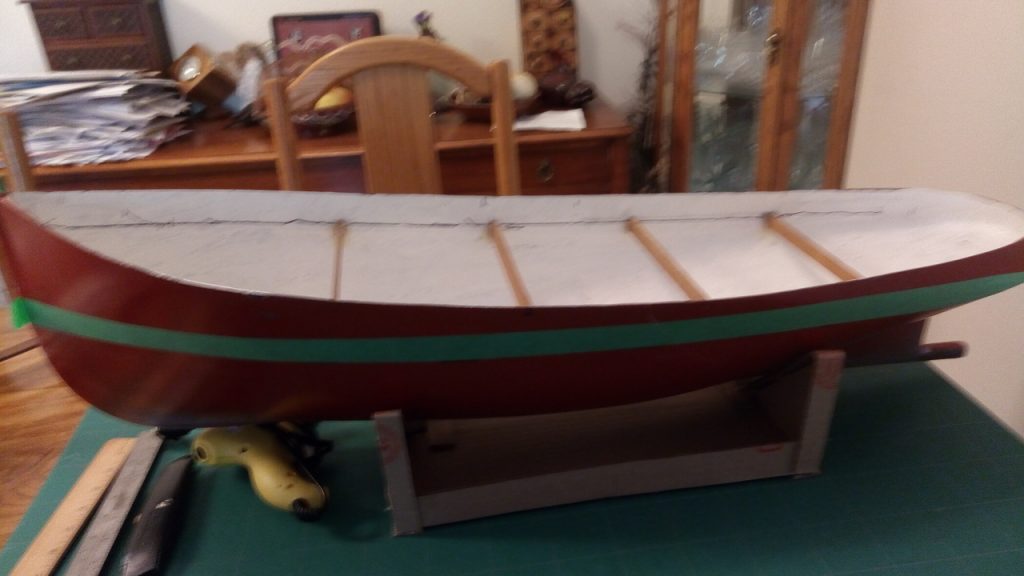
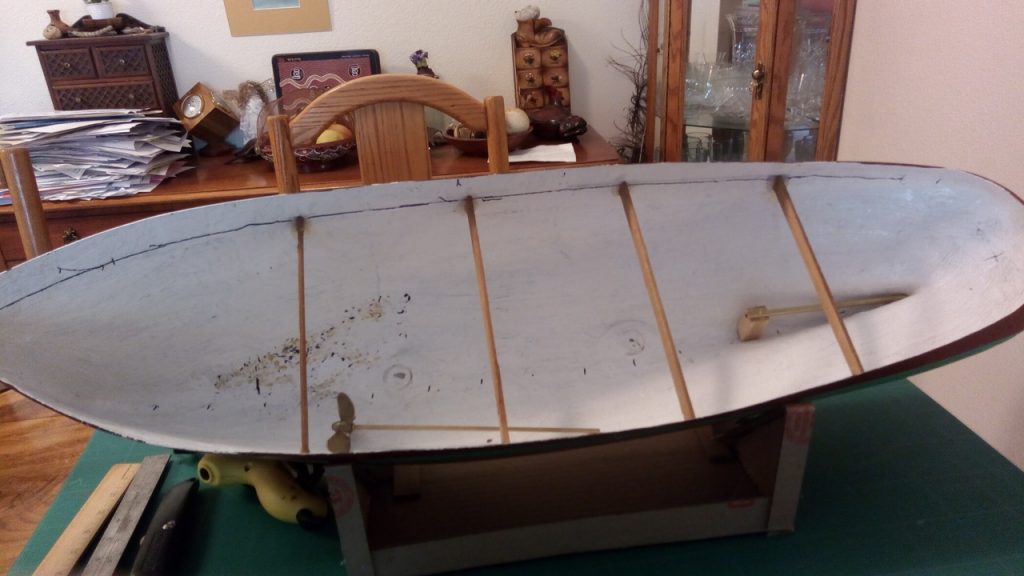
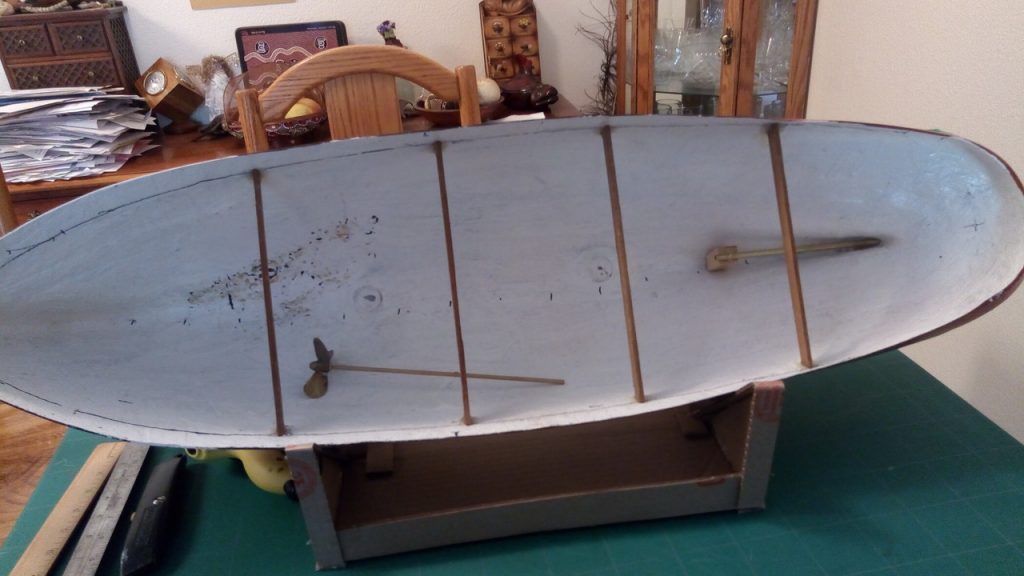
The left hand picture shows the hull held upright. On the right the keel is resting on the top of the triangular uprights at the back and the deck is at about 70 degrees. In the middle, (remember those little tabs), the keel is resting across the top of two of them to give me an intermediate position.
I guess this took around two hours, all of it fun. Working with cardboard and hot melt glue like this is quick and easy, and almost all improvisation. The answer is always going to be another couple of bits of cardboard, cut, bent and glued. The glue cools off and sets in a minute, so it all goes fast. And the result is very light, strong and satisfying. It’s not wildly elegant, but who cares. It’s done.
And if this model comes out pretty enough to deserve an elegant cradle, I’ll get the wood out then.
Very clever idea for a working stand. I like it, especially the versatility. change it to fit the immediate need!