
Having finally gotten around to posting something about this build, I realize that I didn’t take many photos of the early days. No comments about procrastination – these plans have been kicking around the shop for over 40 years….. Anyhow, lets get started.
These are the Bernard Reeve plans for an 80ft Thames River diesel tug in 1/2″ = 1 ft scale. The plans are actually for bread and butter build, but I prefer plank on frame. So, frames and keel from 1/4 ply with 1/16 basswood or obechi (mostly leftovers from other projects) and here we are.
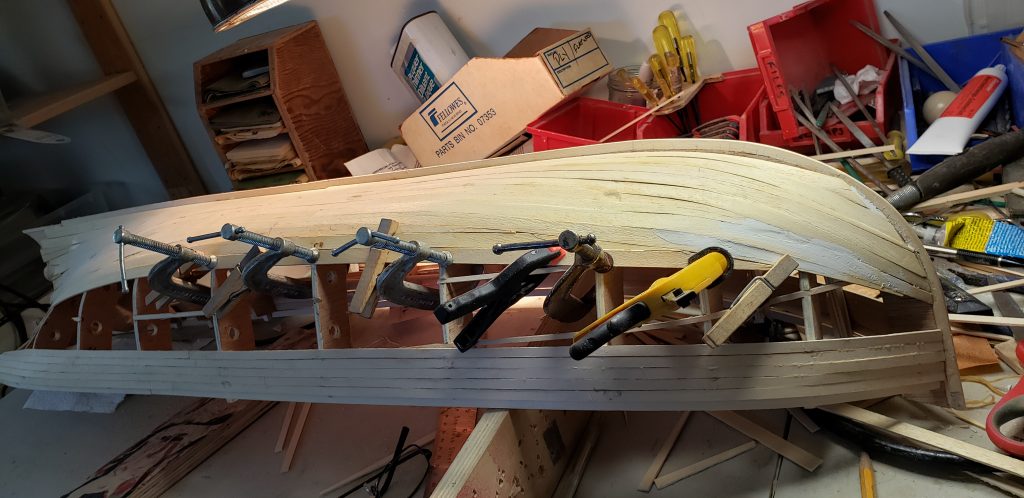
As you can see, this is taken after removing the hull from my “build-board”. I’m not the best plank modeller, but it seems to work. Here I’m beginning to close the gap between top and bottom planking rows.
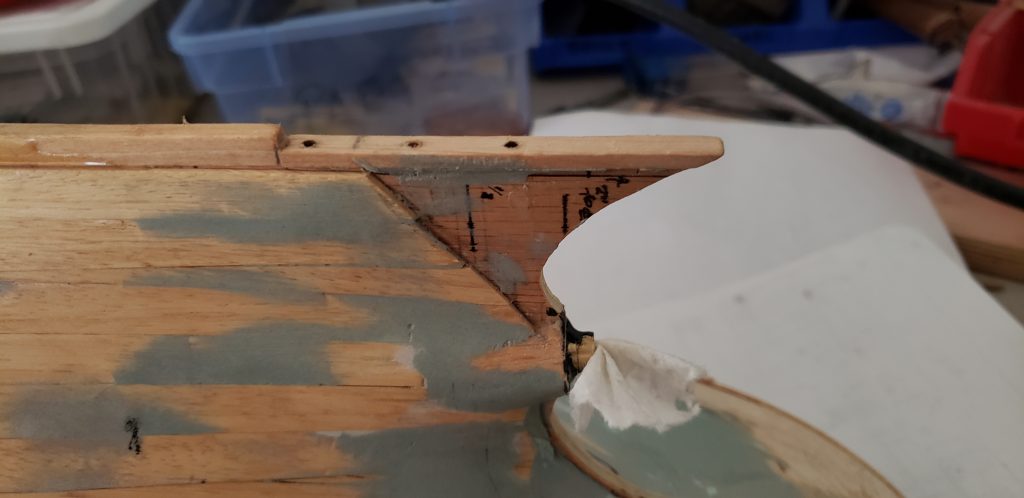
I finished planking up to deck level and cut two balsa blocks for each side of the fantail stern. Then some initial sanding/shaping, and a bit of bondo to fill the truly ugly spots.
Then a coat of epoxy to the inside of the hull. I find this stiffens the planks nicely for filling and shaping with a bit more bondo and 120 grit paper.
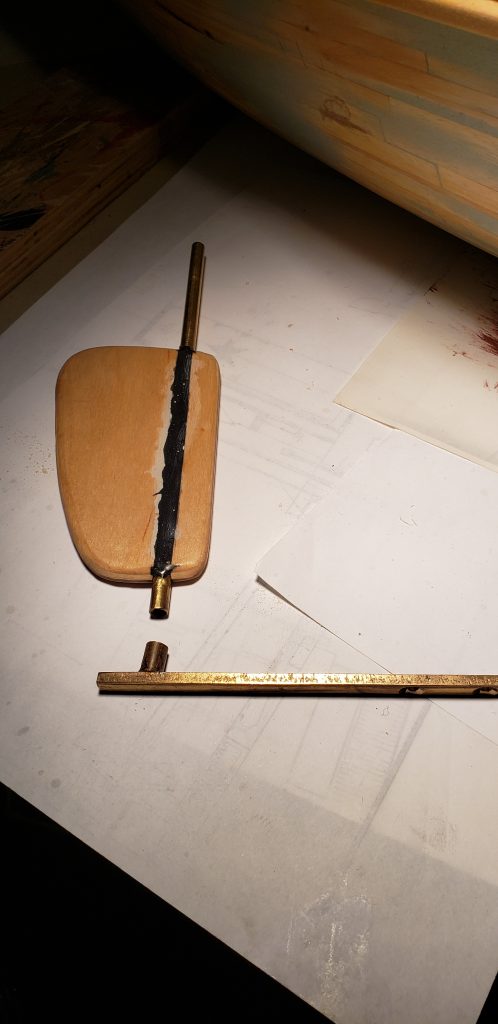
The rudder post bushing and lower arm were also fitted about this time. A brass bar with a small section of tubing to anchor the bottom of the rudder post, held in place with three brass screws. Once the rudder is temporarily set in place, the upper bushing is epoxied into place and the the whole works can be removed and set aside ’til later.
The motor mount and prop shaft were next, using my favourite technique of blasting a huge hole in the stern, then setting the shaft in place with putty and things. Backfill with a few tubes of epoxy and it’s all done!
The reality is that I marked the shaft on the keel section before starting with frames, so I had a good idea of where the motor end of the shaft should end up. I built an engine bed on centreline and inserted the shaft tube. I fitted a strut from the top of the keel to the bottom of the tube, as close as possible to the front bearing. I find this helps not only with installation but also with reducing vibration when the model is in service.
Once tube length was adjusted, I set the tube with a bit of putty and filled with epoxy.
So now, we have a hull with shaft tube in place, ready for a deck. This tug has a sloped bulwark from the deck up, so I attached 1/16 plywood, flush to the top of the hull, then cut plywood angle struts to glue along the deck edge. There is a 1/4 rubbing rail at the knuckle where hull and bulwark meet, so the join is hidden from view.
I’ll take some photos and continue later!
A thousand welcomes, Mike. So glad to see you are writing on the web site. And great stuff.
Edward.